
 USD
USD
Custom Hat & Cap Embroidery, No Minimums

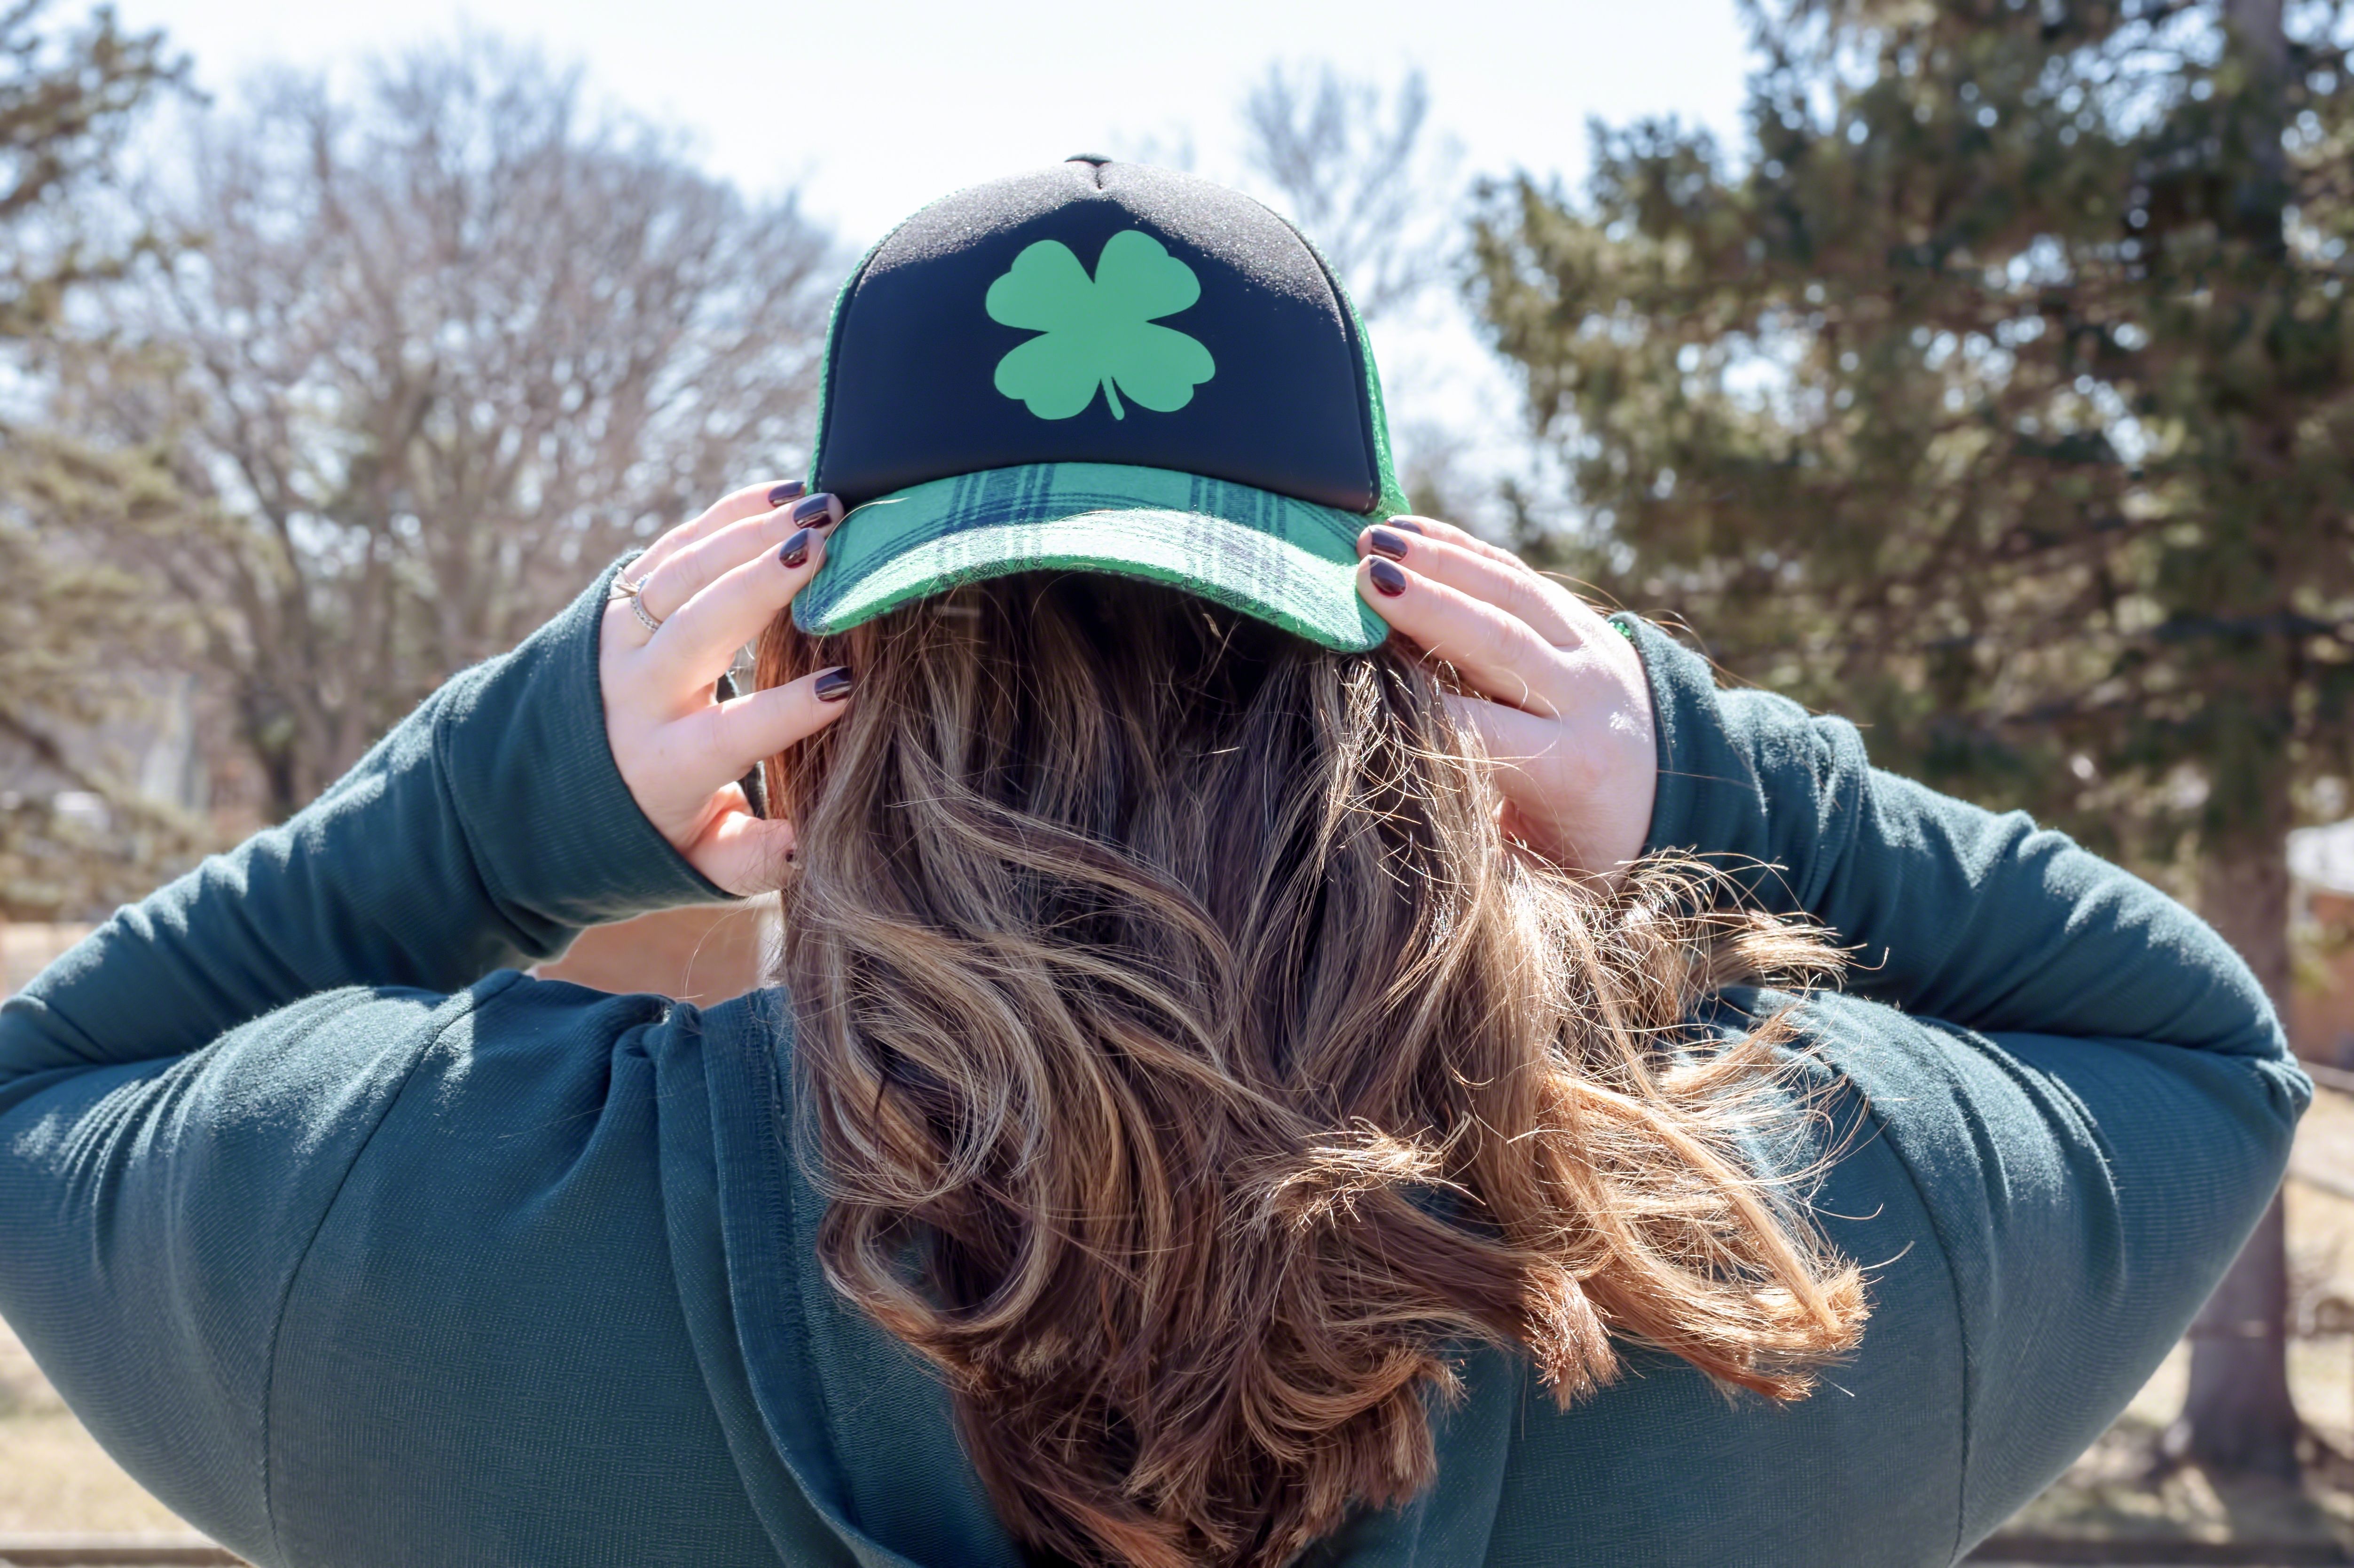
For a lot of brands, a cap is the best-selling piece in the lineup. It's also the one product where embroidery isn't a style preference. It's the only decoration that holds up. A cap front curves front to back, and on a structured cap there's a stiff panel underneath, so a flat print sits badly and cracks at the fold within a few wears. Stitching follows the shape and lasts for years. This guide walks through what embroiders cleanly on a hat, where you can place it, what it actually costs, and the file setup that saves you a bad first run.
Why caps get embroidered, not printed
DTG and most heat transfers need a flat, even surface to bond to. A cap front doesn't offer one. It's curved, and a structured cap has a rigid buckram layer behind the fabric. Print onto that and the ink sits on top of a shape that flexes every time the cap moves, so you get cracking along the crease and a logo that looks tired fast. Embroidery goes through the panel instead of sitting on it. The needle pierces the buckram, the thread locks in, and the mark reads like a retail cap because it's built the same way retail caps are. That's the reason nearly every branded hat you own is stitched.
There's a practical upside for you as a seller. Stitching hides small print-registration problems that would show on a DTG cap, and it photographs as premium, which lets you price a $19.98 blank as a $34 retail piece without the product looking overreached.
What embroiders well on a cap
A cap front is small and curved, so the design rules are tighter than on a hoodie chest. The logos that come out clean are bold and simple. The ones that come back muddy are the ones you crammed in.
- Bold block or athletic letters. College Block, Varsity, a heavy sans like Impact or Anton. Even strokes hold their shape on a curved panel where thin fonts wobble.
- A single strong mark. One monogram, one crest, one clean logo. A cap has room for one focal point, not a full scene.
- One or two colors. You can run more, but a two-color mark on a cap reads sharper from across a room than a six-color one.
- Left-chest scale. The front panel is roughly the size of a left-chest logo, so design at that size instead of scaling up a full-front graphic that then gets cropped.
The things that fail are the same across all embroidery, and they fail faster on the small cap panel: thin script, tiny taglines, fine internal detail, and gradients. If your main logo is busy, build a simplified cap version now. It's cheaper than finding out on a sample.
Flat or 3D puff on a cap
Caps are where 3D puff earns its name. The raised-foam look started on headwear and still reads best there, which is why you see it on every ballcap wall in a mall. You've got both finishes here, and the right call depends on the design.
Flat embroidery sits smooth against the panel and handles finer or smaller marks. 3D puff lifts the design off the front for that bold streetwear depth, in 1.5mm or 3.0mm. Bigger, simpler logos take the puff best. Thin text under a logo won't, so the usual move is to mix them: the wordmark puffs while the small text stays flat, in one design, one pass. If you're weighing a raised logo, the full breakdown of what survives puff and what turns lumpy is in which logos actually work in 3D puff.
Where you can place a design on a cap
You're not stuck with the front. Most caps take a design on the front, both sides, and the back. The front is the hero spot and the largest area. The sides suit a small mark or a few characters. The back sits above the closure and works for a small logo or a word.
Here's the part most guides get wrong by printing a fixed size chart: the printable area is different on every cap, because the shape and construction change from one style to the next. A high-profile snapback gives you a taller, wider front than a soft dad cap. So instead of trusting a number that may not match the hat you pick, use the design tool. When you select a cap it draws the exact area and the maximum size for each position on that specific style, live. That way you're designing to the real panel, not to an average.
One structural rule to plan around: the mesh back of a trucker cap can't be embroidered. Only the solid front panel takes stitching.
That mesh limit trips people up. If you want a back hit, a trucker won't give you one, so pick a full-fabric cap instead. The design tool blocks the position for you, but it's better to know before you fall in love with a trucker sample.
The cap styles you can start with
We keep a core set of blank caps and add styles on a regular basis, so check the current hat catalog for what's live rather than going off a list. As a starting point, the range covers the shapes brands ask for most, all one-size and all the same price, so your pick comes down to look and placement.
- Unisex baseball cap. The classic six-panel custom dad hat. Soft and unstructured, an easy everyday piece. The soft front suits flat or a lower puff.
- Vintage washed baseball cap. Same shape with a faded, broken-in finish for a heritage look. Reads well with tonal, low-contrast thread.
- Flat-brim snapback. A structured custom snapback with a tall, stiff front. This is the one with the most room for a bold 3.0mm puff logo.
- Retro trucker mesh cap. A custom trucker hat with a foam front and mesh back. Front-panel embroidery only, and the foam front takes puff nicely.
Embroidered beanies are coming to the catalog soon, so if knit winter headwear is on your roadmap, it's worth watching the hat page. Until then the four above cover most of what a streetwear or team lineup needs.
How we compare on caps and embroidery
Before you commit a supplier, it's worth seeing where the common print-on-demand platforms actually land on embroidery. A few gaps matter for headwear specifically.
| Feature | PODpartner | Tapstitch | Printful | Printify | Gelato |
|---|---|---|---|---|---|
| Offers embroidery | Yes | No | Yes | Yes | Yes |
| Cap embroidery | Yes | No | Yes | No | Yes |
| 3D puff on | Apparel + caps | — | Caps only | Flat only | Flat only |
| Colors per design | 15, any | — | 6 (unlimited = paid) | 6 of a 15 palette | 6 |
| Flat + 3D in one design | Yes | — | No | — | — |
| Embroidery minimum | 1 piece | — | Member tiers | None | None |
Compiled from each provider's public documentation. Details change over time.
Caps and apparel from one factory
Most brands end up buying caps in one place and apparel in another, because a lot of shops only do one of them well. That leaves you with two workflows, two quality baselines, and two shipments that never quite match. We run both in the same factory on the same machines, so the cap and the matching hoodie use the same 15 thread colors, the same puff options, and the same hand. Your lineup looks like it was made together because it was.
You can also stack techniques on a single cap. Flat embroidery, 3D puff, and Heat Transfer Vinyl lettering all go on the same hat. On apparel you get a fourth option, DTG, for full-color art. So the logo on your cap and the logo on your tee can be built the exact same way, which is the kind of consistency a customer notices even if they can't name it.
Pricing and the real story on minimums
Here's a detail worth knowing before you shop around. Plenty of sites advertise "no minimum," then bury the catch: the no-minimum is for printing, and embroidery quietly needs a six-piece minimum. It's common. Embroidery takes machine setup and digitizing, so a lot of shops won't run it for one unit. That means the "no minimum" you saw on the homepage doesn't apply to the embroidered cap you actually wanted.
You can order one embroidered cap here, full stop. Get a single piece, check the stitch quality in your hand, then list it. For a brand testing a design before a drop, that's the difference between a $20 test and a $120 minimum you didn't plan for.
On cost: caps are priced separately from apparel with their own size tiers, and you see the exact build as you design. Picking from the 15 thread colors doesn't change the price. 3D puff adds $0.98 per frame. Combining embroidery with DTG or Heat Transfer Vinyl on the same piece adds a $2.99 multi-process fee. Digitizing is $5.99 one time per design, and if you upload your own DST file there's no digitizing fee at all. The full table lives on the custom embroidery page.
Setting up your cap file
Give yourself the best shot at a clean first run:
- Simplify the logo to a cap version. Drop the fine detail that won't read at left-chest size.
- Keep every stroke at least 5mm wide at final size, letters 10mm tall or more.
- Decide flat vs puff per element. Fine text flat, bold mark puffed.
- Supply vector artwork, or your own DST file if you have one.
- Skip the trucker back. Plan a side or front placement instead.
Upload it and we'll flag anything that won't hold up on a cap before it goes to production. Fixing a file on screen costs nothing. A reprinted run of a hundred caps doesn't.
Cap embroidery questions, answered
Is there a minimum order for embroidered hats?
No. You can order a single embroidered cap. This is worth checking on other suppliers, because many advertise "no minimum" for printing while quietly requiring six pieces for embroidery. Here the one-piece minimum covers embroidery too, so you can test a design before you commit to a run.
What's the difference between a dad hat, snapback, and trucker for embroidery?
A dad hat has a soft, unstructured front that suits flat or a lower puff. A snapback has a tall, stiff front, which gives you the most room for a bold 3.0mm puff logo. A trucker has a foam front that takes puff well, but a mesh back that can't be stitched, so it's front-panel only. Pick the style by the placement and the height of lift you want.
Where can I place a design on a cap?
Most caps take a design on the front, both sides, and the back, above the closure. The front is the biggest area. The exact size for each position depends on the cap style, so the design tool shows the real area and max size once you pick a hat, rather than us quoting a number that might not fit your choice.
Can you do 3D puff embroidery on caps?
Yes, in 1.5mm or 3.0mm. Caps are where puff looks its best. Bold, simple logos take it well, and you can mix puff and flat in one design so a chunky wordmark lifts while fine text underneath stays sharp. Puff adds $0.98 per frame.
Do you offer embroidered beanies?
Not yet. Embroidered beanies are coming to the catalog soon. If they're part of your plan, keep an eye on the hat page for the current lineup.
Can you embroider the mesh back of a trucker cap?
No. Mesh can't hold embroidery, so trucker caps are front-panel only. If you need a back hit, choose a full-fabric cap like a baseball or snapback style instead.
What file do I need to send?
Vector artwork works, and our team digitizes it into a stitch file for a one-time $5.99 fee per design. If you already have a DST file, upload it directly and there's no digitizing fee. You reuse the digitized file on future orders of the same design.
Pick a cap, drop in your logo, and the design tool draws the exact area and size for every position on that style. Order one to check it before you list. PODpartner embroiders caps with no minimum, flat or 3D puff, made in our own factory, so you can order a single hat and check the stitch before scaling.
Browse caps →Related reading